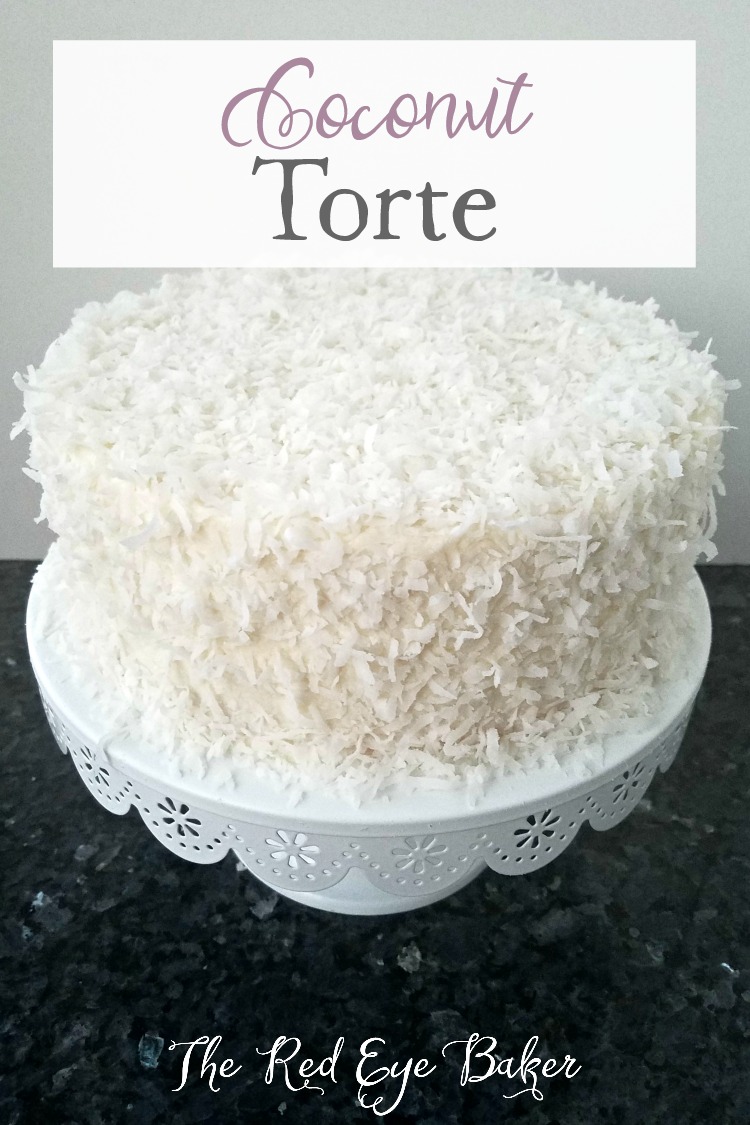
So I’m really looking forward to springing forward… I could really use the longer daylight. Normally, I invite you to check out what I made, but today I’ll just say grab the recipe for this delicious Coconut Torte.
Coconut Torte
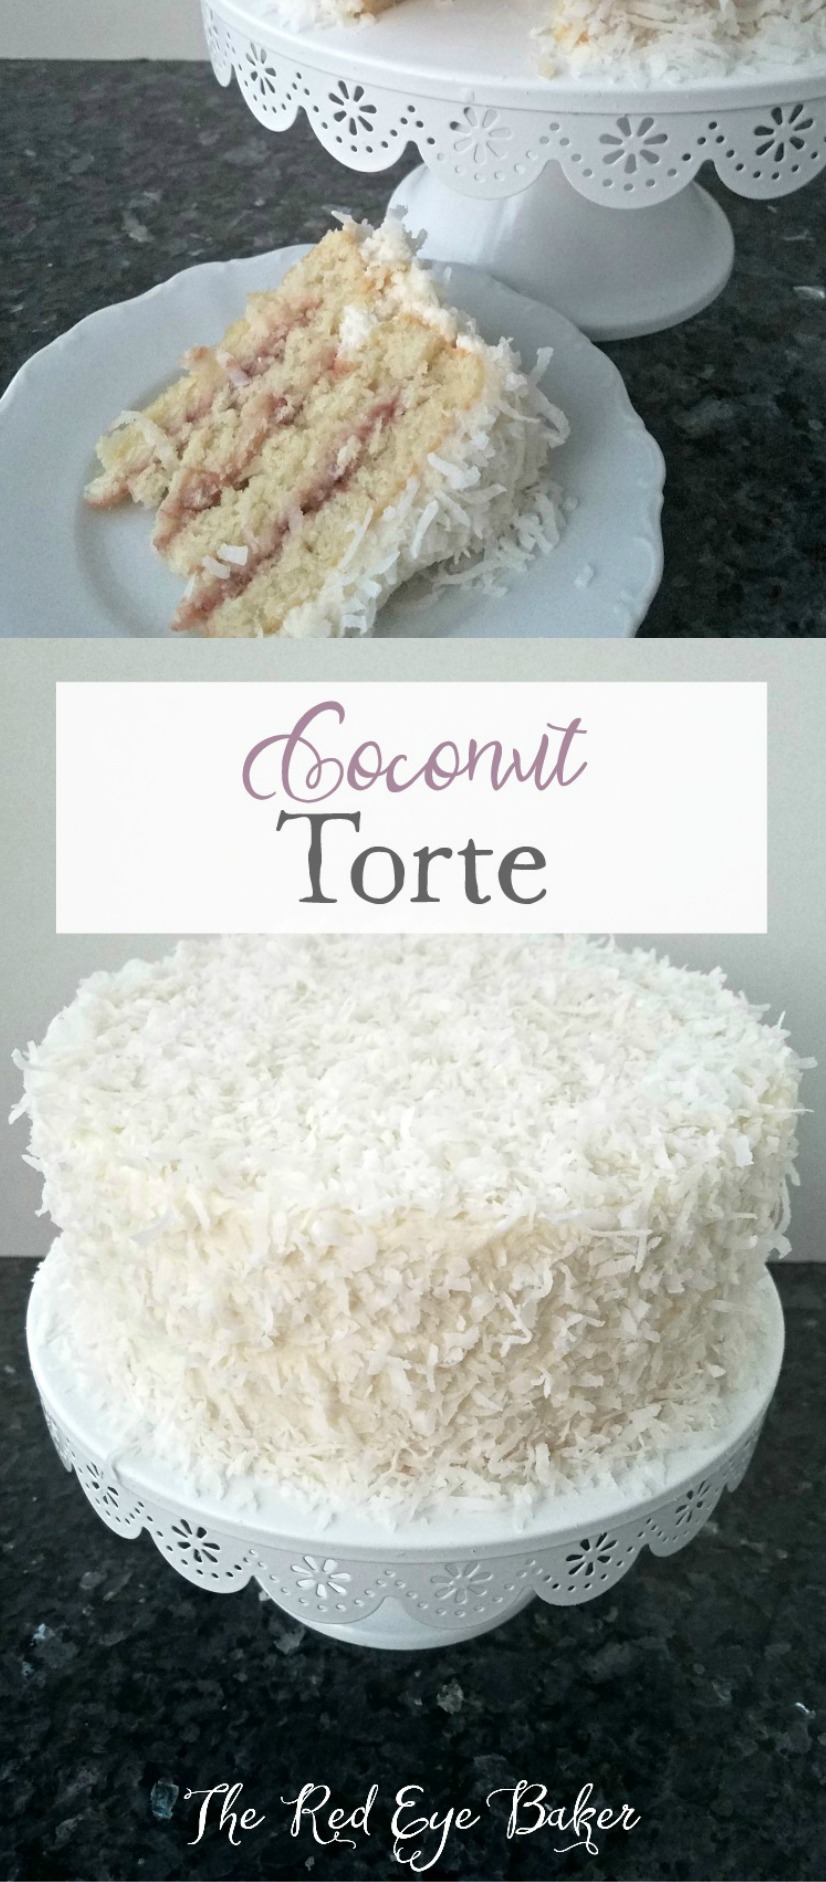
Seriously guys, please excuse the pics. My daylight was fleeting and I was herding all the little people out of the house to hit our church/school fish fry. I just couldn’t wait to share the recipe because this cake was delish!
A little birdie, actually a couple of them, told me that my kid’s gym teacher loved this cake. 😉 This coconut torte and the Oreo layer cake I made went pretty quick at the bake sale. Which is great because that’s why I made both cakes… to be enjoyed. That just makes my baker heart happy. 😀
Coconut always gets me thinking of longer days and warmer nights. A nice breeze under a shady tree and suntan lotion. LOL It just screams summer, doesn’t it? I remember as a kid I had zero interest in coconut anything. Almond Joys and Mounds bars were the first thing to go out of my Halloween candy. Enjoying coconut came later when my palette matured I guess.
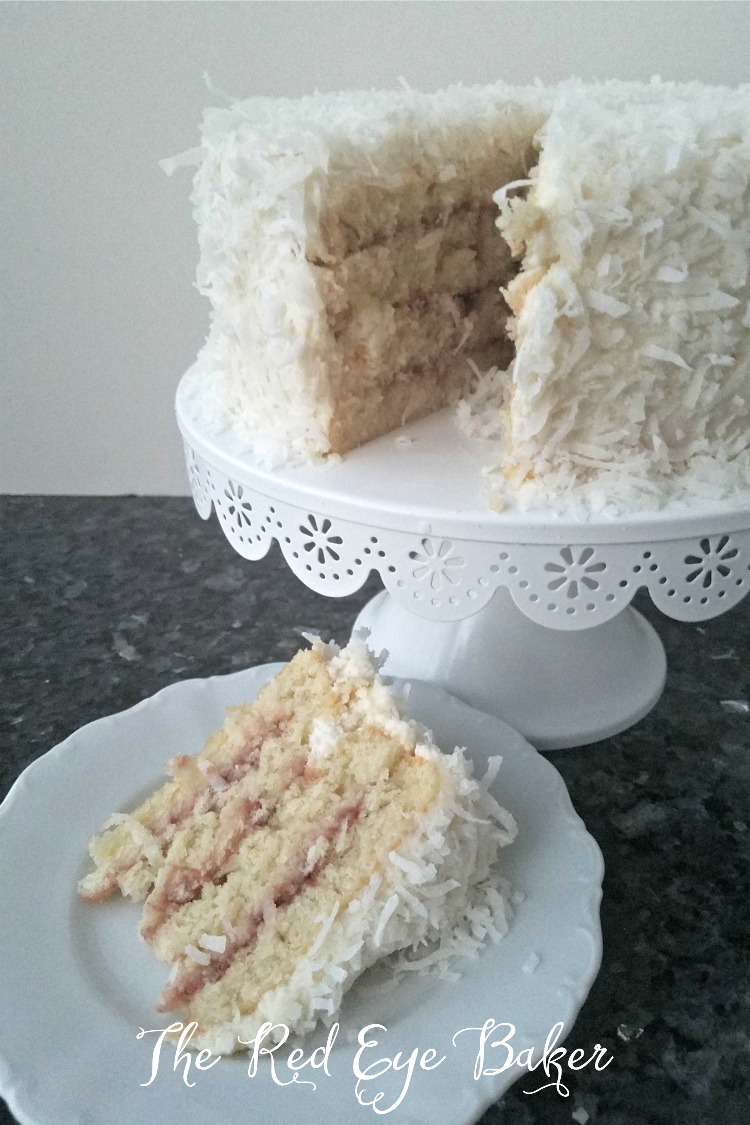
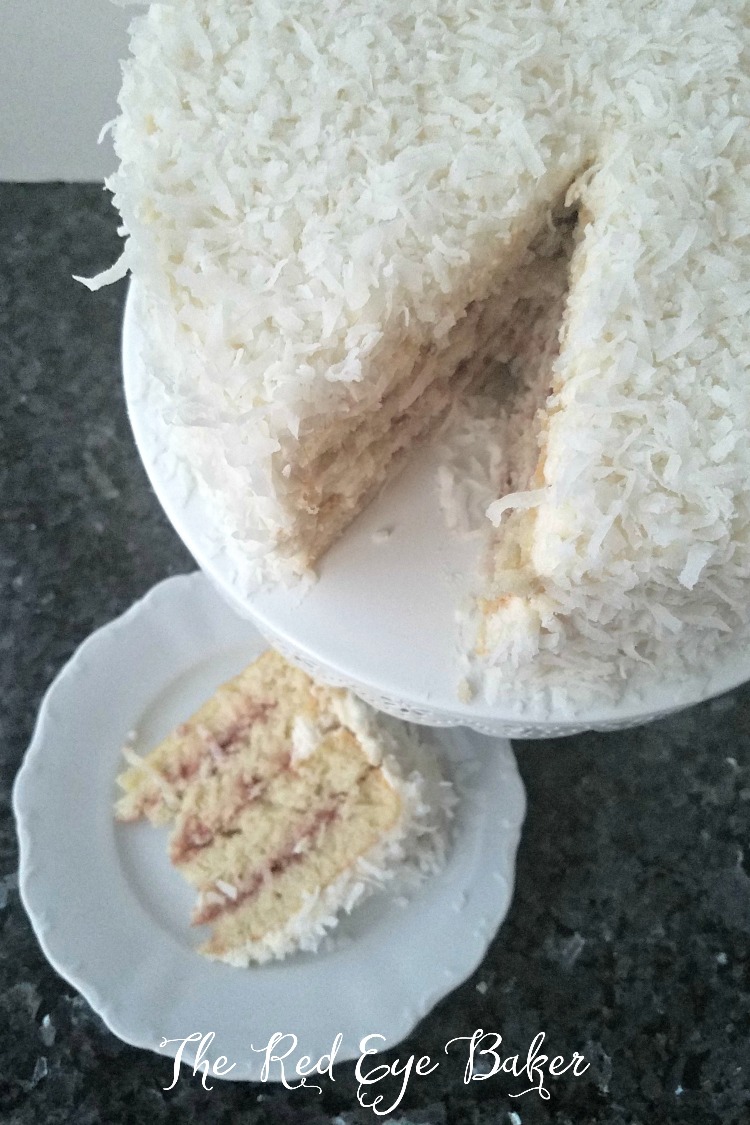
This coconut torte is simply filled with some raspberry preserves that I had, but you can fill it with more buttercream. You can make a lemon or lime curd or a fresh strawberry filling. I’ve even made a mango filling for this cake for my aunt’s birthday one year. Super yummy!
Bring a little chink of sunshine into your kitchen with this Coconut Torte this weekend!
xox Roxana
Love coconut and chocolate? How about these Dark Chocolate Coconut Cupcakes then. 😉
Quick note about the frosting: I was impatient and chilled the “pudding” in the freezer and that caused my buttercream to become too wet and almost curdly. Even if you want to speed up the chilling process by putting the milk and flour mixture in the fridge/freezer be sure to let it come to room temperature before making the frosting.
- 2½ c flour
- 2 c sugar
- 3 tsp baking powder
- 1 tsp salt
- ⅔ c shredded coconut
- 1 c coconut milk
- ½ c canola oil
- 2 tsp coconut extract
- 1 tsp vanilla
- 2 eggs, room temperature
- 1 c hot water
- approx ½ c raspberry preserves (I used Hero Velvet), plus 1 tsp lemon juice
- 5 Tbsp flour
- 1 c coconut milk
- 1 tsp coconut extract
- 1 tsp vanilla
- 1 c (2 sticks) butter, room temperature
- 1 c sugar
- ⅛ tsp salt
- approx ½ - 1 c shredded coconut for garnish
- Preheat the oven to 350 degrees and prepare 2- 8" round cake pans using a baking spray or butter and flour.
- In the bowl of a stand mixer fitted with the whisk attachment, sift the flour, sugar, baking powder, and salt together.
- Add the shredded coconut and whisk it in to the dry ingredients.
- With the mixer on low speed add the coconut milk, oil, extracts, and eggs. Increase to medium speed and mix until just combined, scraping down the sides and bottom of bowl as needed.
- Return the mixer to low speed and very slowly add the hot water. Stop the mixer and scrap down the bowl very well and mix on medium for about 30 seconds.
- Scrape down the bowl again and fold in anything that may not have mixed in on the bottom or sides of the bowl. Divide the batter evenly into the prepared cake pans.
- Bake in preheated oven for 30 - 35 minutes or until a toothpick inserted into the center comes out clean.
- Allow cakes to cool in pans for about 10 minutes then move to a cooling rack to finish cooling.
- In a medium saucepan, combine the flour and coconut milk whisking constantly over medium high heat until mixture becomes very thick. It will be pudding like in consistency.
- Remove from heat and whisk in the vanilla and coconut extract. Cover with plastic wrap directly over the "pudding" to prevent a skin from forming. Allow it to cool completely.
- In the bowl of a stand mixer fitted with the whisk attachment, whip the butter, sugar, and salt together until smooth.
- Scrape down the sides of the bowl and add the cooled milk/flour mixture to the butter. Mix on medium high speed until light and creamy, scraping down the sides of the bowl a few times making sure to get the bottom of the bowl.
- If necessary, level the tops of both cooled cakes. Torte the 2 cake layers by cutting them in half, you now have 4 cake layers.
- Apply a dollop of buttercream to a cake board or cake stand and place the first cake layer (bottom side down) on it.
- Spread some of the raspberry preserves keeping it about ¼ - ½" away from the edges keeping it all in the center.
- Repeat this process with the middle 2 layers (reserve the flat bottom part for the last layer) spreading an even layer of raspberry preserves between each layer.
- Place the final cake layer on a plate (bottom side up). For best results chill the stacked cake in the freezer for 15 minutes.
- Now it's time to crumb coat the chilled cake. Drop about a half cup of buttercream on the top of the cake and begin spreading it over the top and allowing it to go over the sides, add more buttercream if you need to. Spread a thin layer all over the cake. Don't worry if any cake is showing, you will cover that with the final coat of buttercream. Chill the cake in the freezer again for 15 minutes.
- Now you can spread or pipe the final layer of buttercream all over the cake and garnish with shredded coconut.
- Chill the finished cake in the refrigerator until ready to serve. Allow to come to room temperature for about 20 - 30 minutes before serving.


[…] aquest enllaç ( Coconut Torte | The Red Eye Baker ) però, us deixem la recepta original com es diu en anglès from scratch, per preparar el vostre […]